
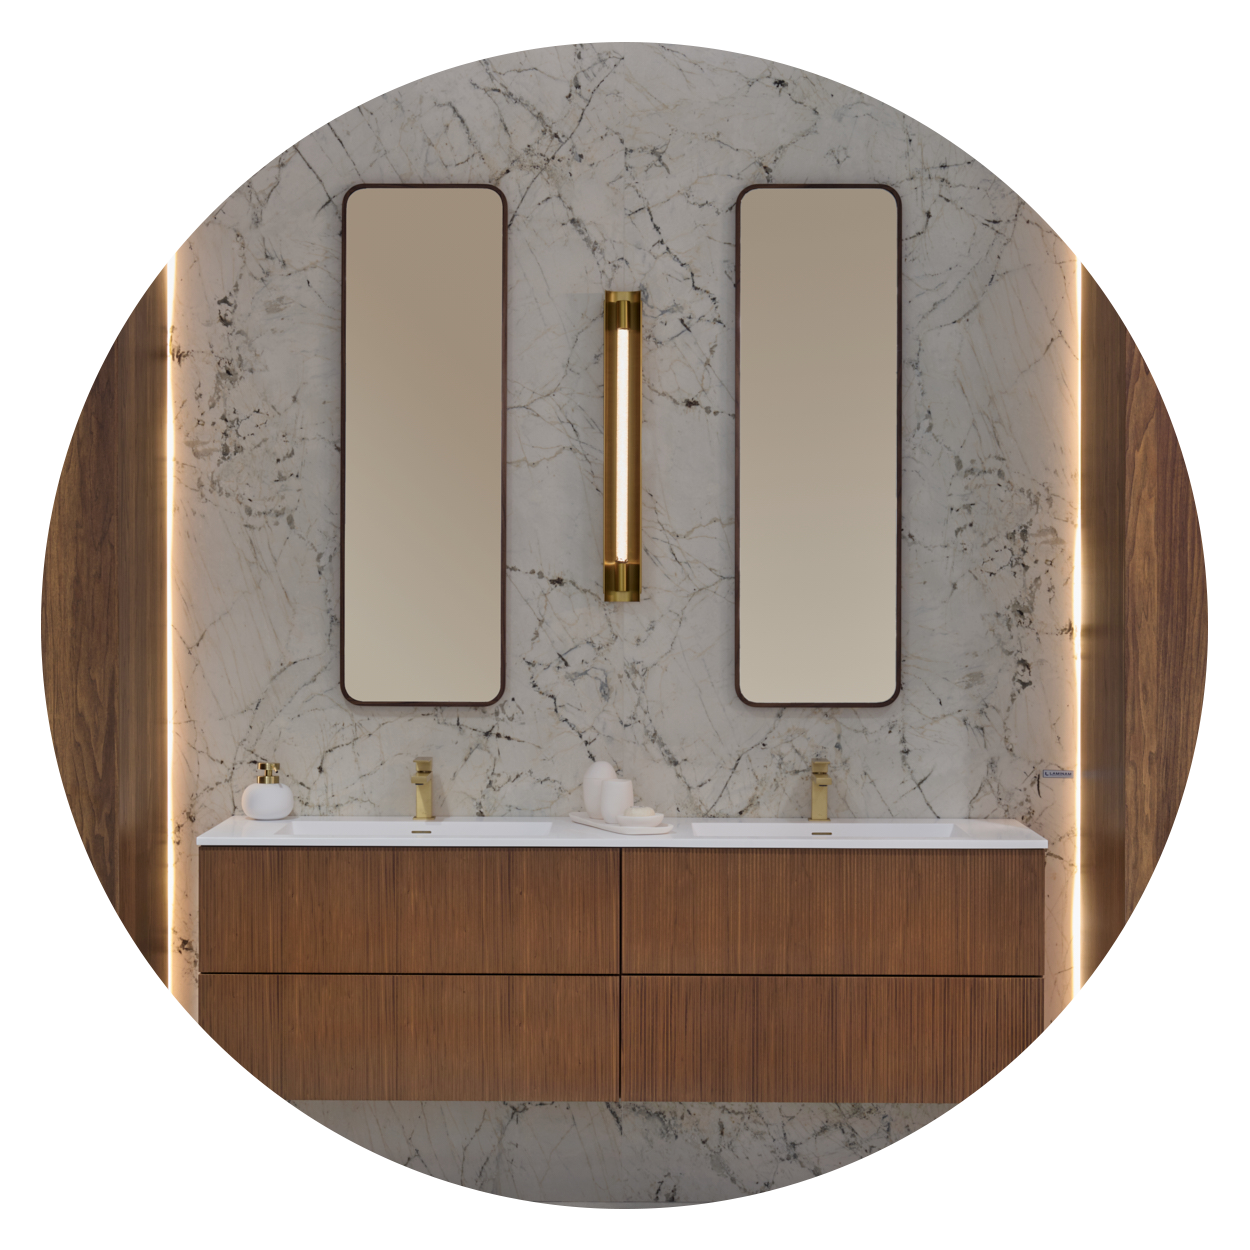


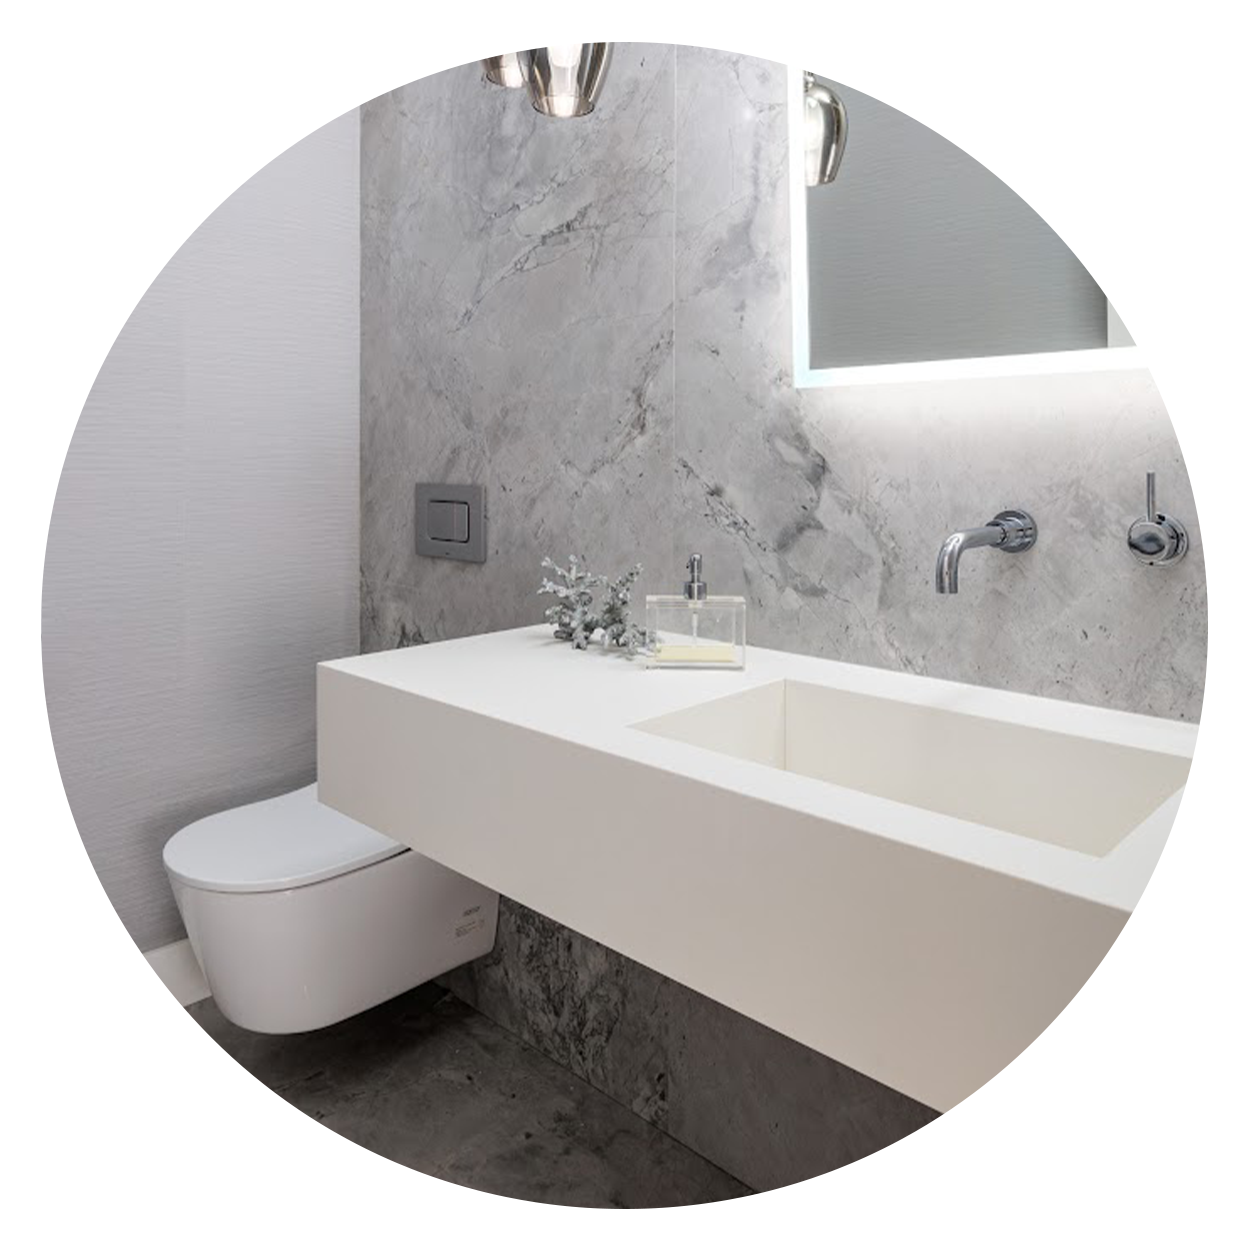


A floating vanity is a sleek, modern addition to any bathroom, offering a minimalist aesthetic while saving valuable floor space. These vanities are mounted on the wall, creating the illusion of more space and giving your bathroom a contemporary, open feel. If you're looking to install one in your bathroom, this step-by-step guide will walk you through everything you need to know.
Tools and Materials You'll Need:
Before you get started, make sure you have the following tools and materials:
- Floating vanity
- Measuring tape
- Level
- Stud finder
- Drill
- Screwdriver
- Wall anchors (if needed)
- Pencil
- Wooden shims (optional)
- Power drill
- Screws
- Leveling device
- Support brackets (if your vanity includes them)
Step 1: Choose the Right Location
Choosing the right location for your floating vanity is essential. Consider the size of your bathroom, the height of the vanity, and how the plumbing will align. Here's what to keep in mind:
- Height: A typical floating vanity is mounted at a height of around 30 to 36 inches from the floor. Adjust the height based on your preferences and the type of sink you'll be using.
- Location: Make sure the vanity doesn’t obstruct any doors or interfere with other fixtures. Ensure there's enough clearance for plumbing connections.
Step 2: Locate the Wall Studs
Since a floating vanity relies on wall-mounted brackets or anchors, it’s crucial to find the studs in the wall to ensure a secure installation.
- Use a stud finder to locate the wall studs in the area where you want to mount the vanity.
- Mark the location of the studs with a pencil. If your vanity has brackets, make sure the brackets align with these studs for added support.
If there are no studs where you need them, you may need to use heavy-duty wall anchors or toggle bolts to secure the vanity.
Step 3: Measure and Mark the Height
Once you’ve identified the wall studs, use a measuring tape to determine the appropriate height for the vanity. Double-check the height against your preferences and the plumbing. Once you're happy with the placement, mark the top edge of the vanity location on the wall with a pencil.
- Make sure the marks are level by using a leveling device to ensure the vanity won’t be tilted when mounted.
Step 4: Install the Wall Brackets (if applicable)
Most floating vanities come with support brackets that need to be mounted onto the wall. These brackets will bear the weight of the vanity.
- Using the pencil marks as a guide, line up the brackets with the wall studs and drill pilot holes for screws.
- If your floating vanity comes with pre-drilled holes, align them with the marks on the wall.
- Attach the brackets to the wall by drilling screws into the wall studs. Make sure the brackets are secure.
If your vanity requires wall anchors (for drywall installation without studs), insert them in the pilot holes before attaching the brackets.
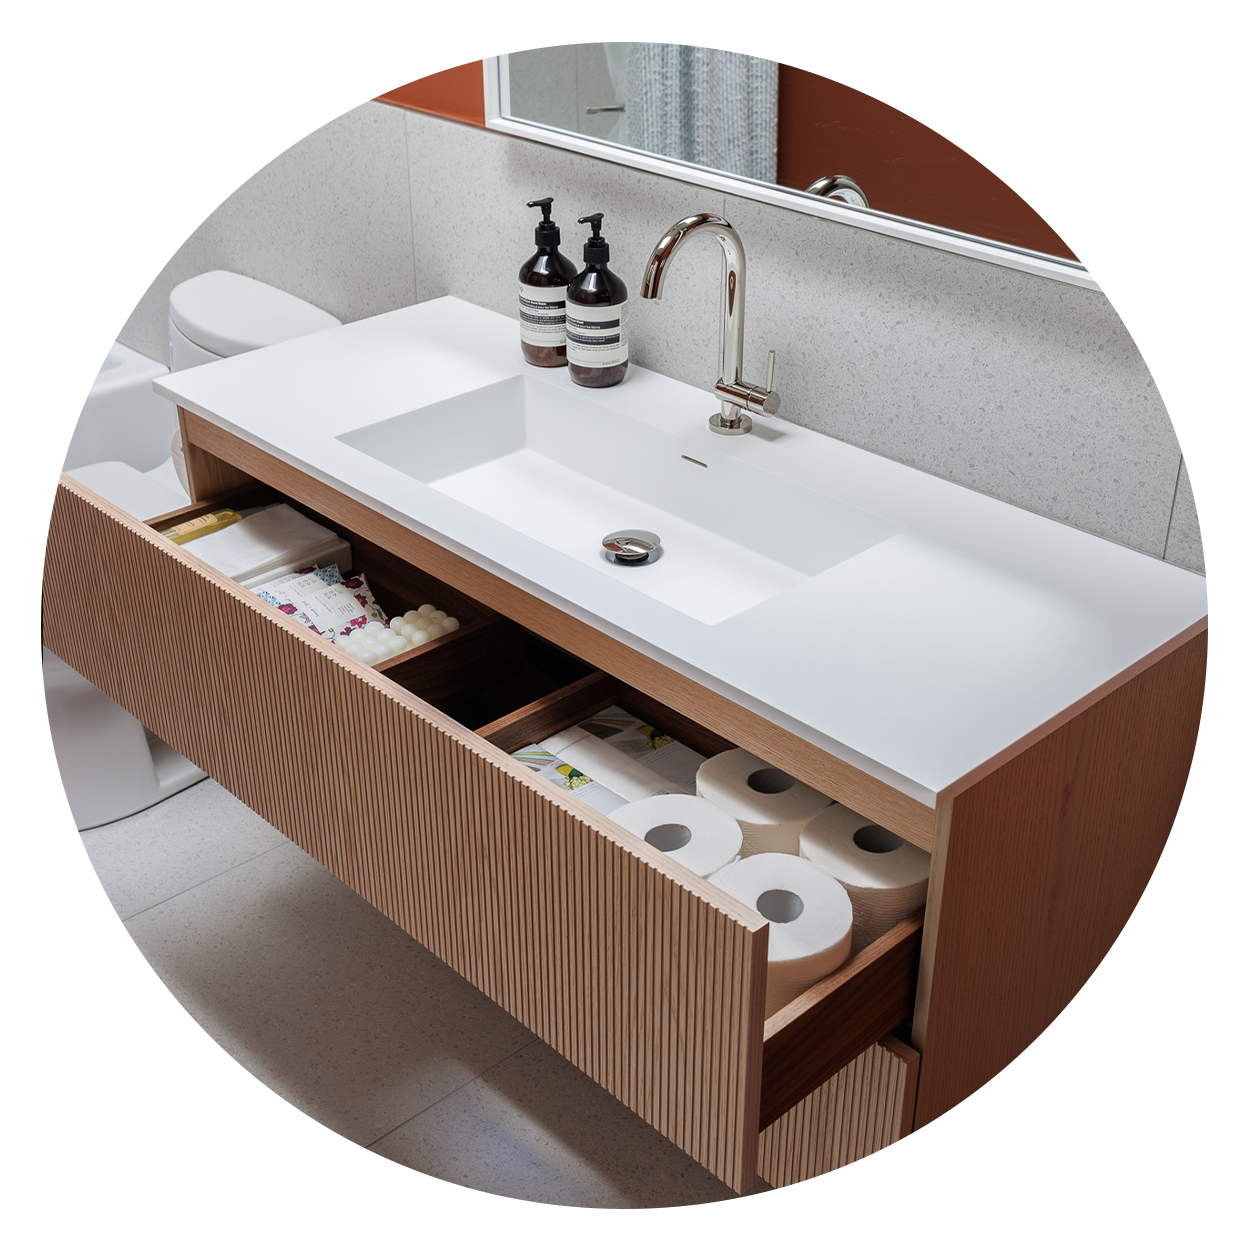
Step 5: Mount the Vanity
With the brackets securely in place, it's time to mount the floating vanity itself.
- Lift the vanity and carefully position it on the brackets. Make sure it aligns perfectly with the marks on the wall and is level.
- Some vanities come with a secondary mounting system, such as screws or bolts that go into the brackets. Follow the manufacturer’s instructions to secure the vanity.
- Double-check that the vanity is level from side to side and that it sits firmly on the wall without any movement.
Step 6: Connect the Plumbing
Now that your floating vanity is securely in place, it’s time to hook up the plumbing.
- If your vanity has a built-in sink, you’ll need to connect the water supply lines, drain, and P-trap to the corresponding plumbing.
- Tighten all connections to prevent leaks, and double-check the alignment of the pipes to ensure they’re properly connected.
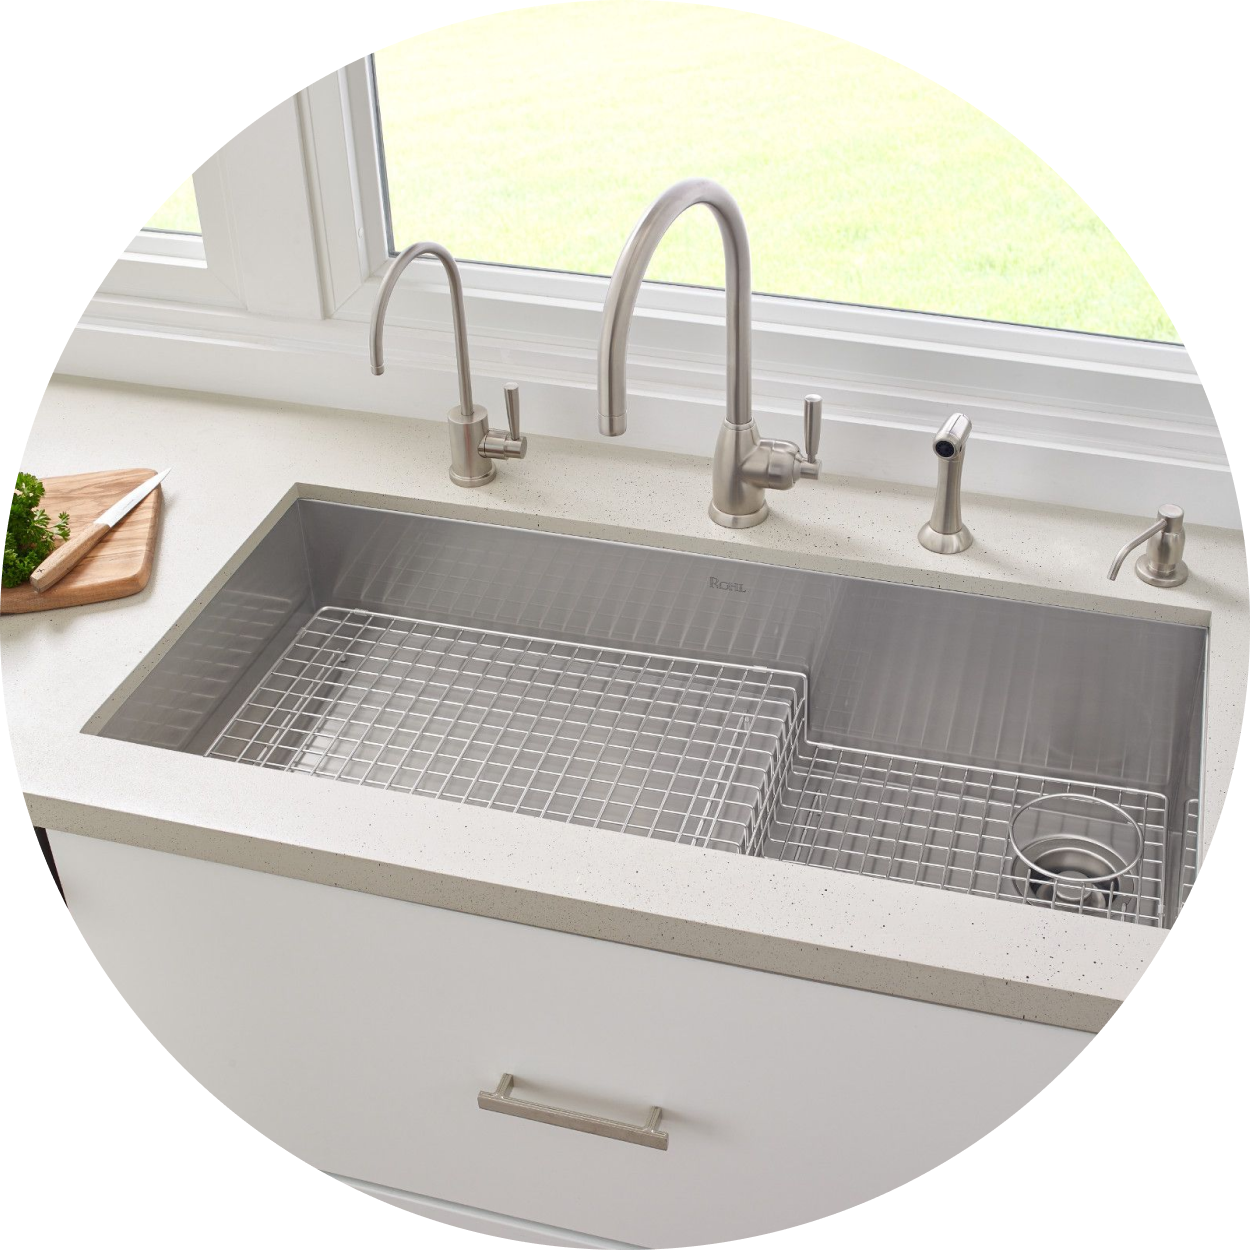
Step 7: Install the Sink and Faucet
Most floating vanities include a countertop and sink, but some might require you to install these separately.
- Install the sink into the vanity if it isn’t pre-installed.
- Follow the manufacturer's instructions to attach the faucet, and tighten any screws or bolts to secure everything in place.
Step 8: Finish the Installation
- Once everything is connected, turn on the water supply and check for leaks.
- Wipe down the vanity and surrounding area to remove any dust or debris from the installation process.
Conclusion
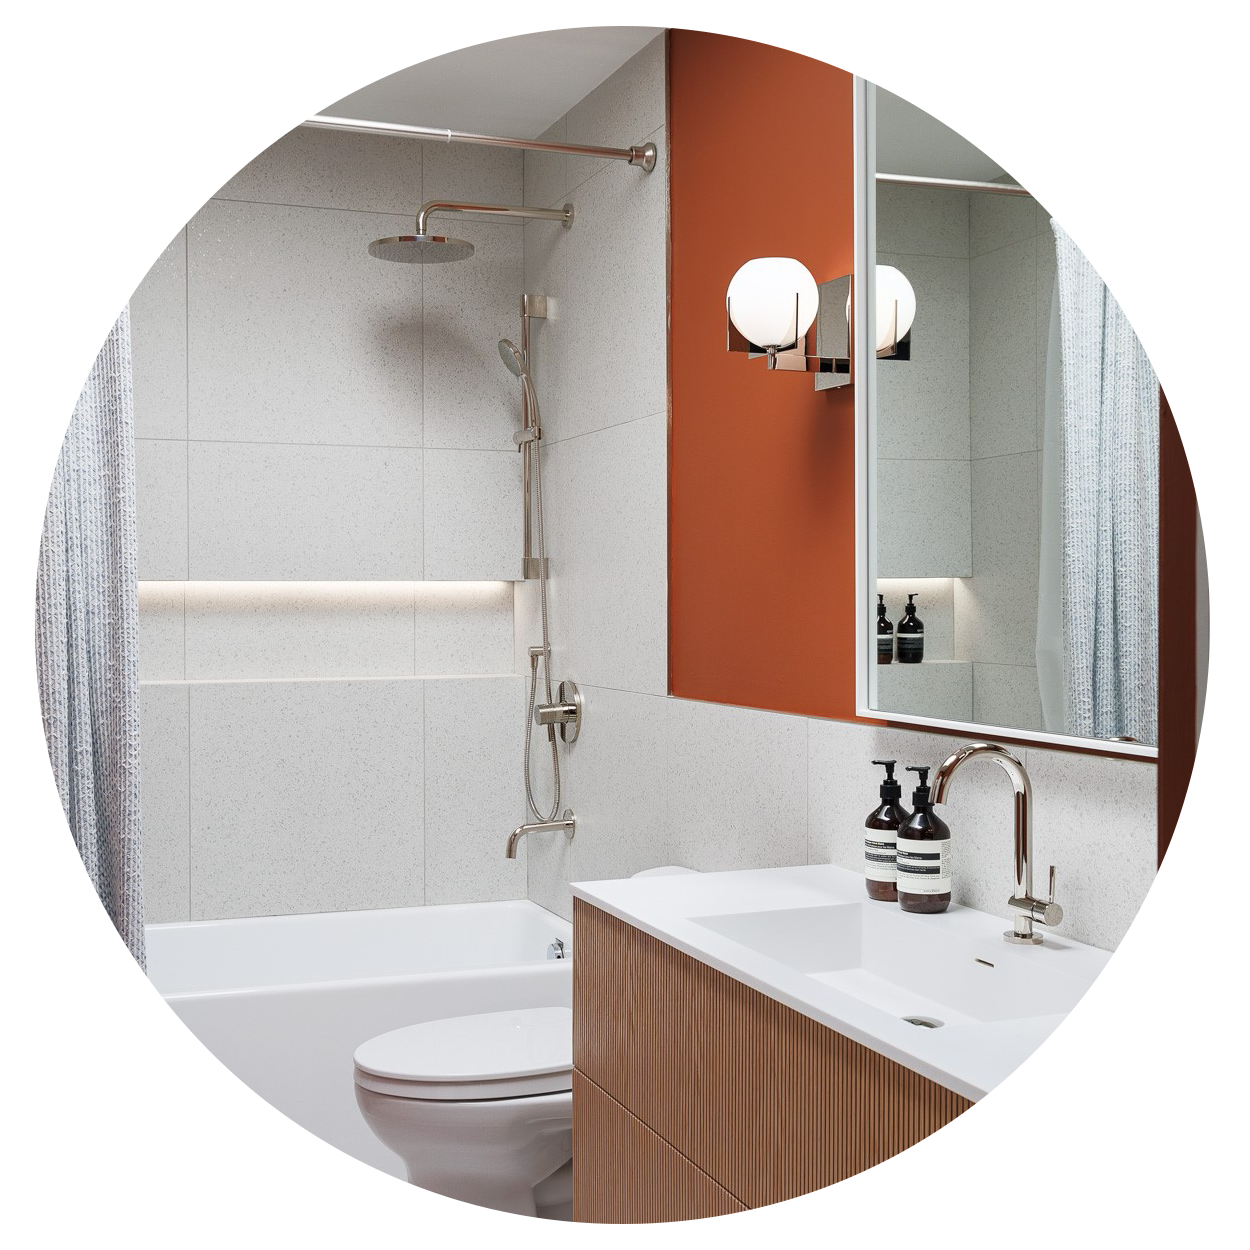
Installing a floating vanity can elevate the look of your bathroom, providing a modern and minimalist design while maximizing space. By following these simple steps, you can securely mount your floating vanity and enjoy a sleek, functional bathroom upgrade. Just be sure to follow the manufacturer's instructions, measure carefully, and take your time to ensure a secure, level installation.

