How to Install a Veneto Bath Floating Bathroom Vanity
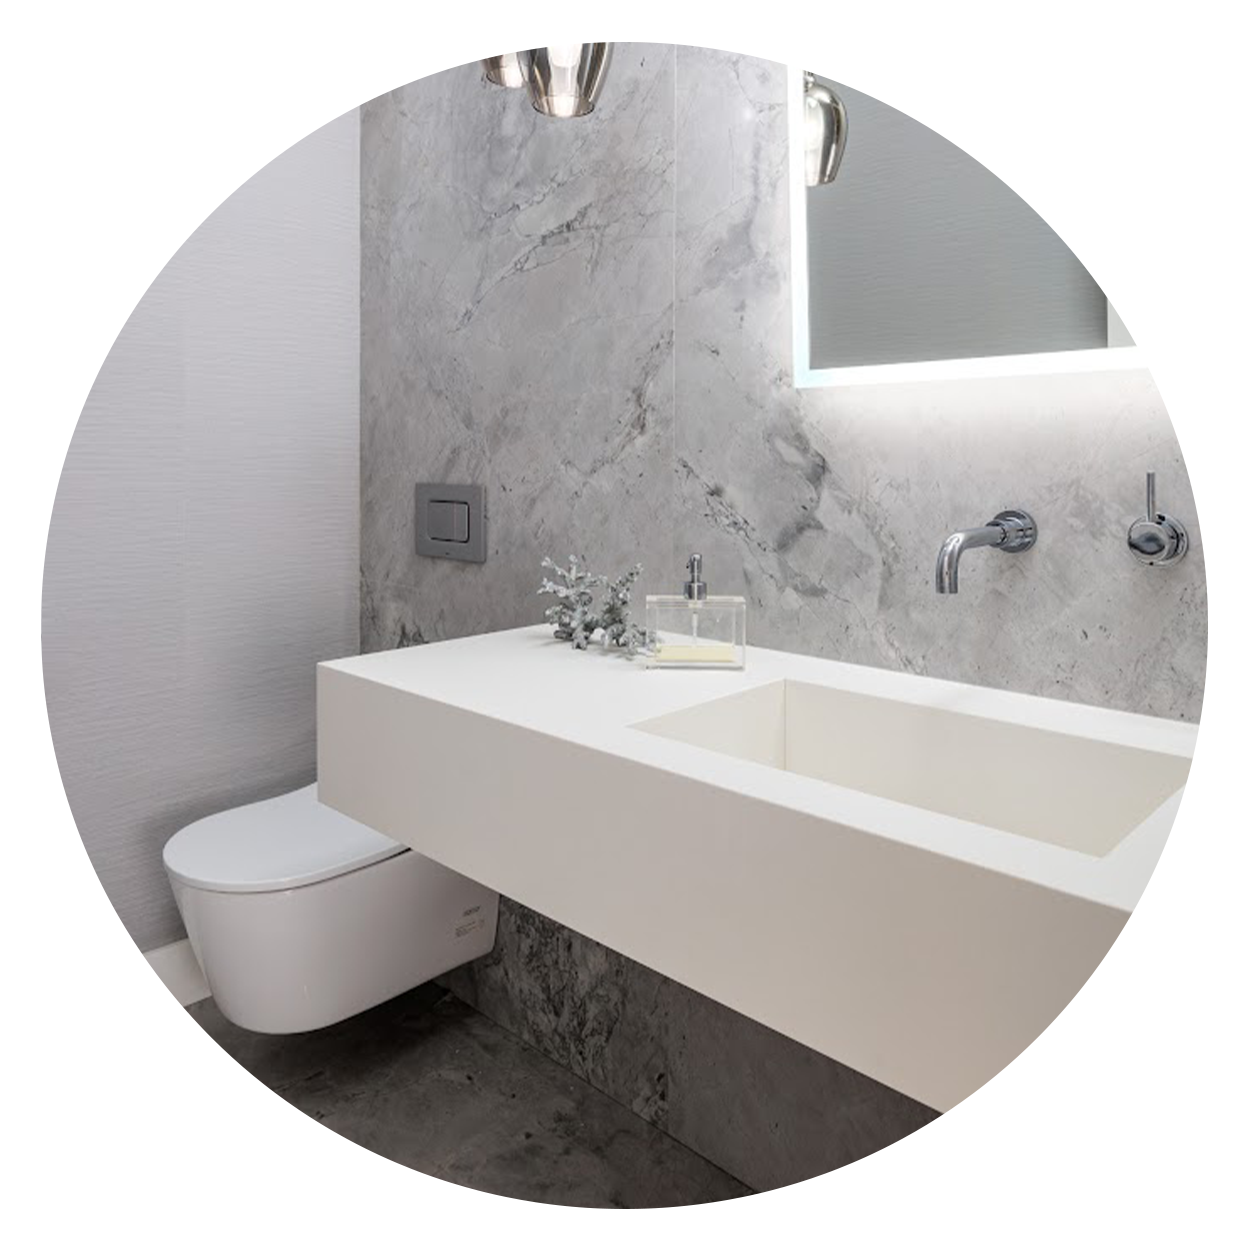
So you thought about upgrading your bathroom decided that a Veneto Bath floating bathroom vanity was right for you. That’s good news! A floating bathroom vanity is a great way to modernize your bathroom, making it look bigger with additional square footage. But now comes the hard part where you need to figure out how to install it so we came up with guided instructions (and a video!) to help you install your floating bathroom vanity. Keep in mind, these instructions are made specific to our vanities so some steps may differ if you’re using this as a reference to install other ones.
Skip the instructions and watch the video here, but for those who want to follow along with a detailed guide, keep scrolling below! In this video and guide, we will base our measurements and dimensions off of our 47" bathroom vanity - MC 1200H.
What You Will Need
- Level
- Measuring Tape
- Drill (here, we use a drill with a diamond bit screw because we need to get through porcelain tiles)
- Screwdriver
Veneto Bath Vanities Include
- 2x Hanging Brackets
- Wall Anchors
- Screws
Make Sure The Wall Can Support a Floating Vanity
If you have an idea of where you’re going to place your vanity, make sure that there is a solid frame that can support its weight. You will need to expose the wall frames and add 2-3 layers of plywood in between studs to reinforce the supports of the vanity along its width. If you need to move any pipes (such as transferring waste pipes from the floor to the wall), now is the time to do so with a plumber.

Where to Mount the Wall Brackets
*Before You Start - Keep These Measurements in Mind!
-The overall height of the vanity with the countertop should be at least 34” from the floor
- Give your vanity 5-10” of space/clearance when placing them near walls

Calculating the Height of the Wall Brackets
Once the plywood has been placed and the wall is covered up, we need to figure out where to place the wall brackets. We’ll start by calculating how far the bottom of one bracket is from the ground, and since we’re hanging the vanity evenly, both brackets should have the same height. We will use the countertop as part of our calculation so let’s leave it on. Look behind your vanity - notice that there are hanging mechanisms where the brackets will be mounted on.

Place a bracket on one of the mechanisms and measure the distance from the countertop to the bottom of the bracket. In our case, it’s about 4” from the countertop to the bracket’s end.

Now, recall earlier that we want a finished height of 34” with the countertop on. Subtract the distance you just measured (4”) from the finished height (34”) and we will get how far the bottom of both brackets are from the ground. In our case, they should hang 30” from our bathroom floor.

Calculating How Far the Bracket is From the Wall
To calculate the distance of the bracket from the wall, we first need to know the clearance of the vanity from the wall. We will recall that our vanities need at least 5-10” of clearance - in our example, we wanted ours to be 10” away from the wall.
Next, measure the distance from the cabinet’s side to the outer edge of the bracket and add it to the clearance. In our example, the distance from the gable to the bracket is about 1.5”. We will then add our clearance of 10” to it, which makes the total distance 11.5”.

Here’s what the measurements should look like so far:

Measuring How Far Apart The Brackets Are From Each Other
Now that we figured out the height and how far apart one bracket is from the wall, we can measure how far apart each bracket should be. Attach both brackets to the hanging mechanisms on the vanity and measure across both ends to get the distance. In our case, the brackets are 44” apart from each other, however, the width will vary depending on the vanity model

These should be the dimensions we measured in our example so far:

Once you’ve figured out where to hang the brackets, it’s time to drill them on your wall.
Centre The Plumbing
Consider your plumbing once the brackets have been placed. Most of our vanities are designed to accommodate centered plumbing. At this point before installation, if your plumbing isn’t centered, talk to a professional and adjust the pipes so it’s aligned with the vanity.
Attaching the Vanity to the Wall
Once the wall brackets have been placed on the wall and the plumbing is centred, we can attach the vanity to the wall. At this stage, you can remove the countertop from the vanity. Friend optional, mount the vanity by aligning the mounting mechanisms to the brackets on the wall. Then, use a screwdriver on the mechanisms to level and tighten the vanity accordingly. The top screw controls the level while the bottom tightens. Use a level as a reference to keep the vanity even.

Add the Drawers
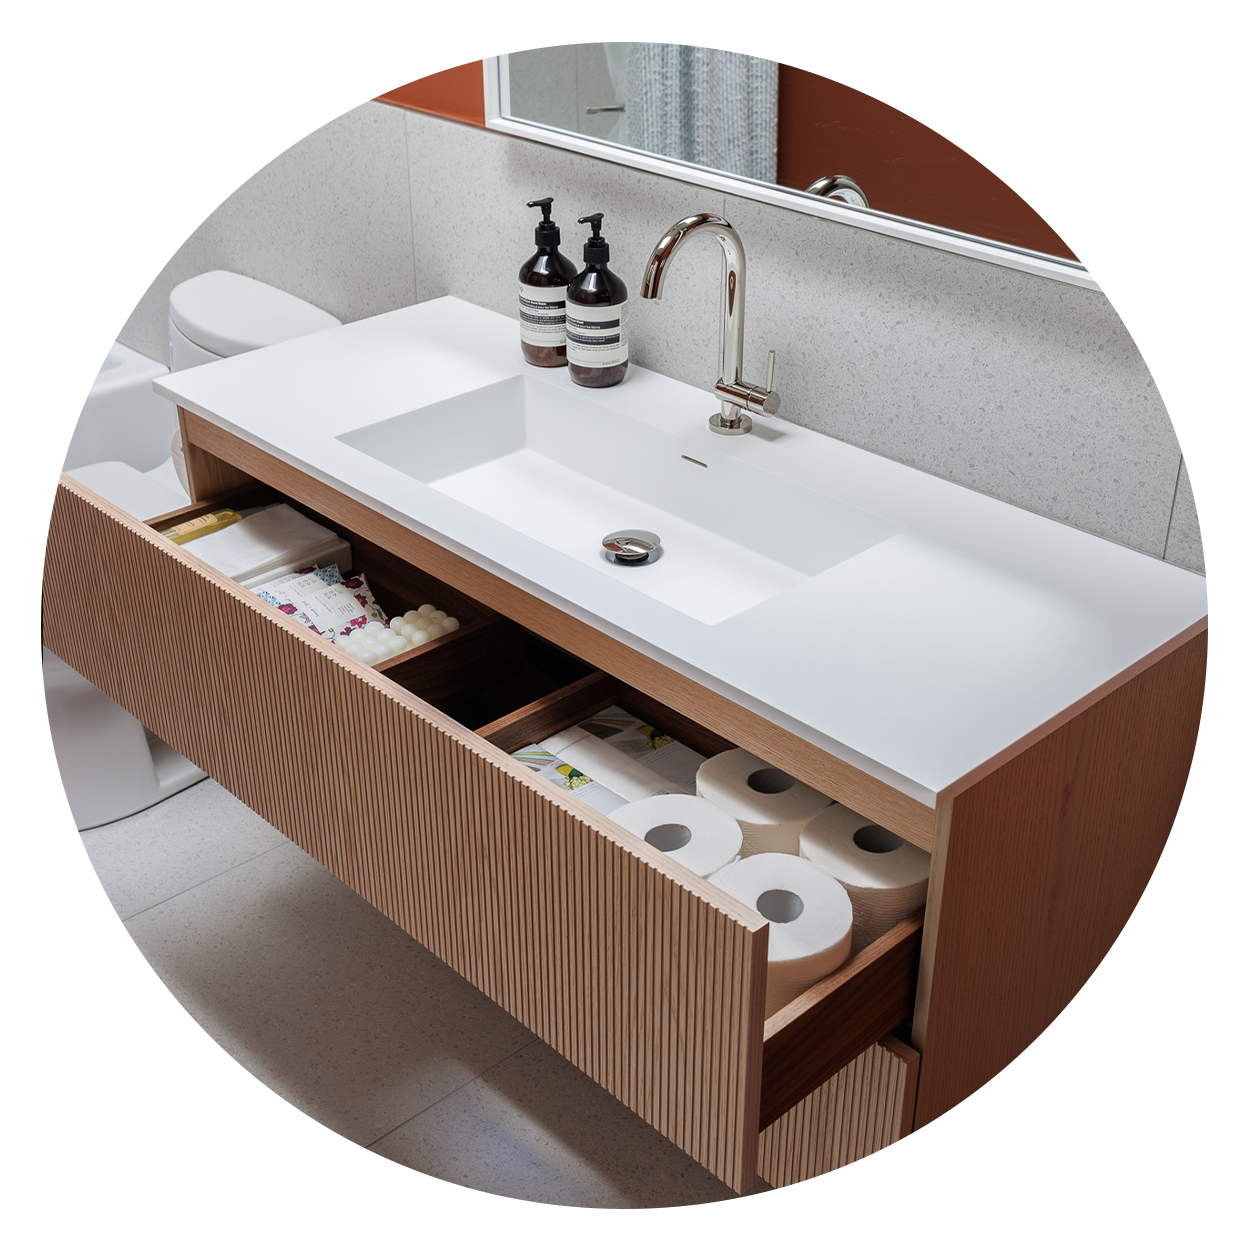
To add the drawers, pull out the cabinet rails and attach the drawer at the end of the rail. There should be cabinet pins that align with the holes at the back of the drawer.


Finally, secure the drawer by clipping the pins at the front of the rails.

And voila! Your vanity is safe, secured, and ready to be used as part of your daily bathroom ritual!


